
Art DeCamp’s instruction and horn-making techniques were invaluable to me in making screw-tip horns. Thank you, Art, for the class and the extra help you provided. Art has a new web site at:www.artspowderhorns.com
Samuel Pletcher grew up in southern Lancaster County in the 1750s. He apprenticed to a weaver, and by the time of the Revolution he was married with a family. One family source says he fought in the war, but this is uncertain. He may have participated in the Lancaster militia along with his brother Henry, but this has not been verified. After the war he remained in Lancaster County until 1790 when he and his brother took their families to Howard PA. From here the Pletcher family spread out, with Samuel spending his later days in central Ohio before passing away in 1830.

Samuel was my great, great, great, great grandfather, and it is because of him that I developed an interest in screw tip horns. He would have been working as a weaver in Lancaster at the same time the horn shops would have been operating, as well as Jacob Dickert and other Lancaster gunmakers. It would be quite reasonable to assume that he owned a horn from one of these shops and perhaps a gun from a maker like Dickert.
My interest in screw tip horns continued to increase when I met Art DeCamp. I took horn making classes from Art in 2008 and 2009. It was between these two classes that I realized that there were characteristics that distinguished Lancaster horns from other screw tips. I had to know what those characteristics were, and I couldn’t wait until the class in the fall. I went to Art’s table at CLA and said, “Art, I know you will tell us about the differences between Lancaster screw tips and other horns, but I can’t wait until the class. Will you explain that now?”
Art patiently began filling me in, and I impatiently waited for the horn class in the fall. I was going to make a horn like my ancestor Samuel probably carried when he left Lancaster.
The class is now over, and it was all I expected. Art covered screw tip horns in general and Lancaster horns specifically. He brought many original examples, numerous screw tip horns he made, and of course the raw materials for us to take home a reproduction of our own making.
We began with a discussion of the history of screw tip horns and differences in regional styles. Here we were, a bunch of old codgers, writing and sketching like mad, afraid we’d miss something. (I probably shouldn’t say codgers because Jeff is too young to be a codger.) Art admitted that we spent much more time on this than he planned, but the questions kept coming. I think he was pleased that the research he did on regional styles was appreciated. Art’s work on this isn’t over; he is close to publishing a book on screw tip horns and their history.
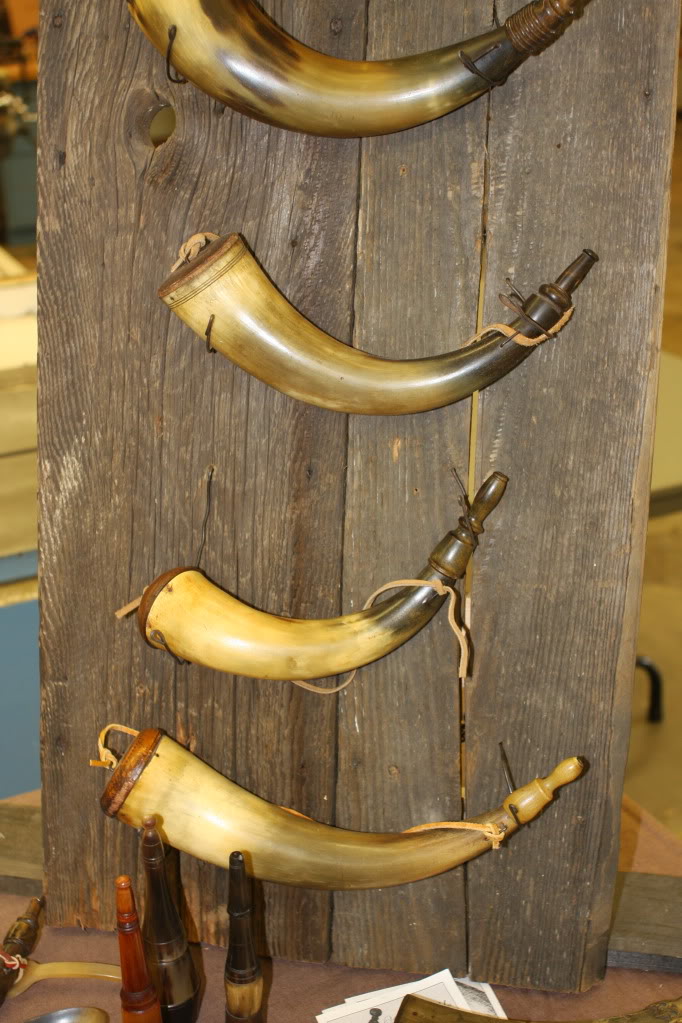
Below – Several original Lancaster tips
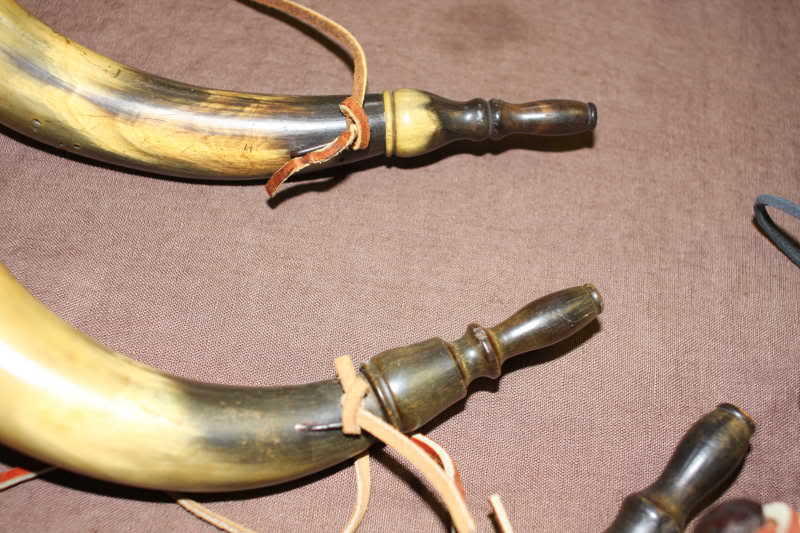
Below – Two of Art’s Lancaster tips
After picking out our horns and tips, Art started us preparing the spout end of the horn. We cut off the end and drilled the spout hole. Art cautioned us that the angle of the hole was vital because all the lathe operations done on the spout and the screw tip used this as the center. A poor drilling angle would result in a poorly angled screw tip. Art encouraged us to have another person watch the drilling from another angle to help us get the hole straight.
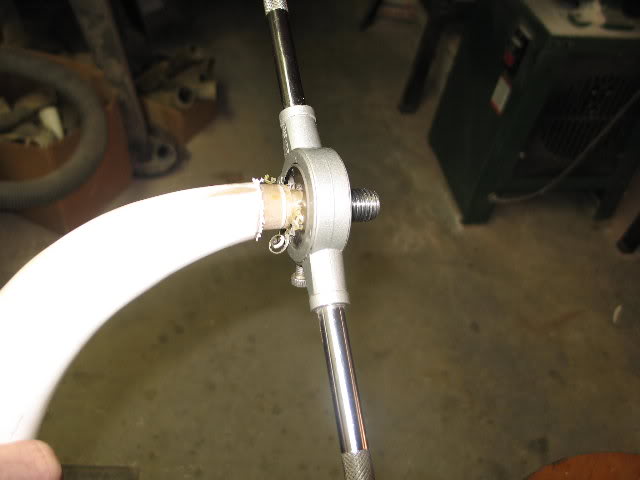
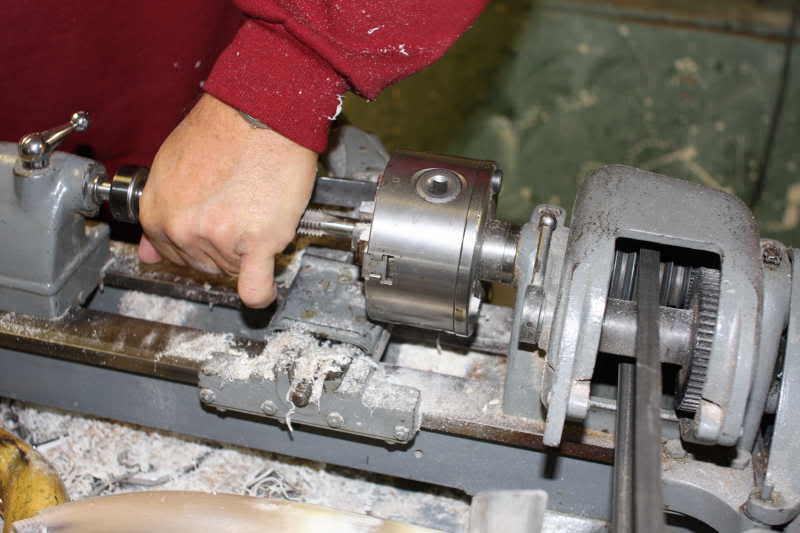
Below – (DeCamp photo) The tap is chucked in the lathe.
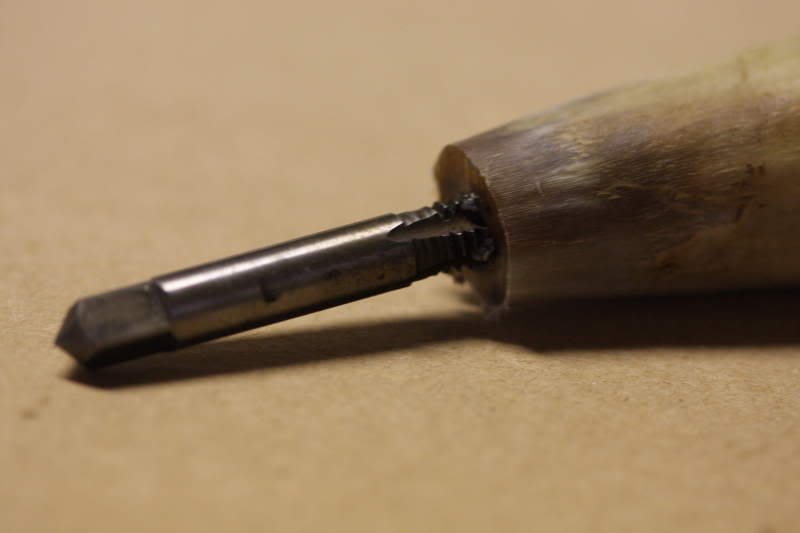
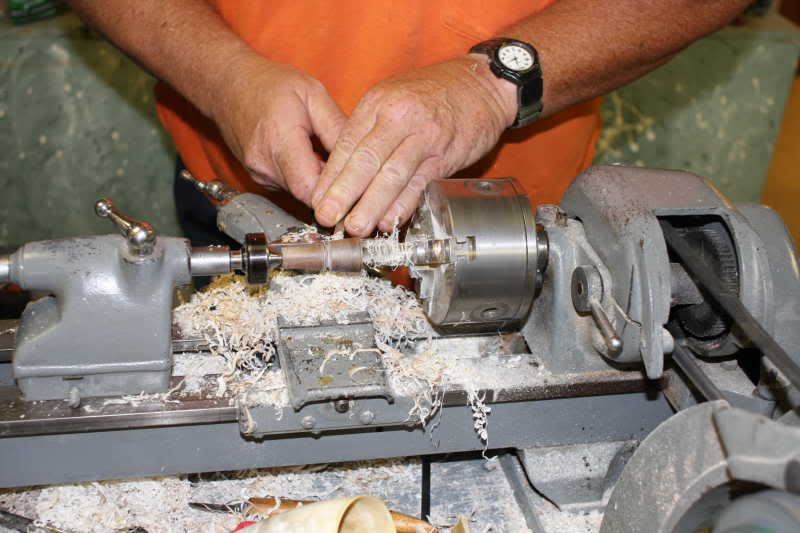
Turning the spout for threading, cutting the shoulder, and threading the spout came next. Art brought a variable speed lathe and had very useful tips for producing really good threads. This was tricky on the lathe even with the turning speed quite slow. Using a tap to chuck the spout end of the horn was a method that worked well with the slow lathe speed we used. Art’s threading guide made threading the spout work well.
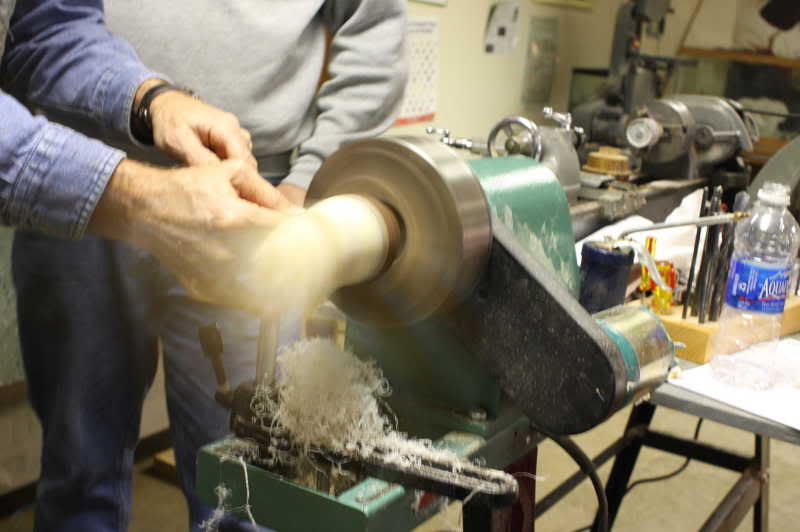
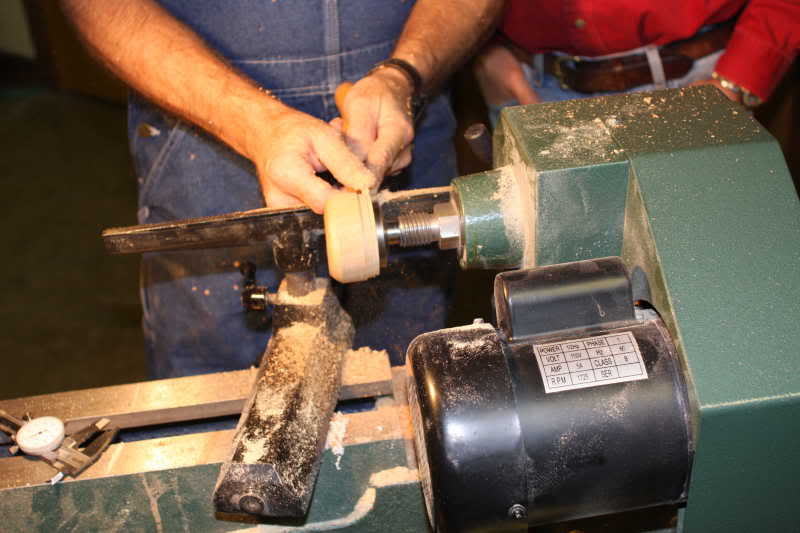
Below – Jeff Bibb is preparing to turn the spout for the 5/8×11 die.
Below– (DeCamp photo) The threading guide is installed. We will add lube and cut the exterior threads.
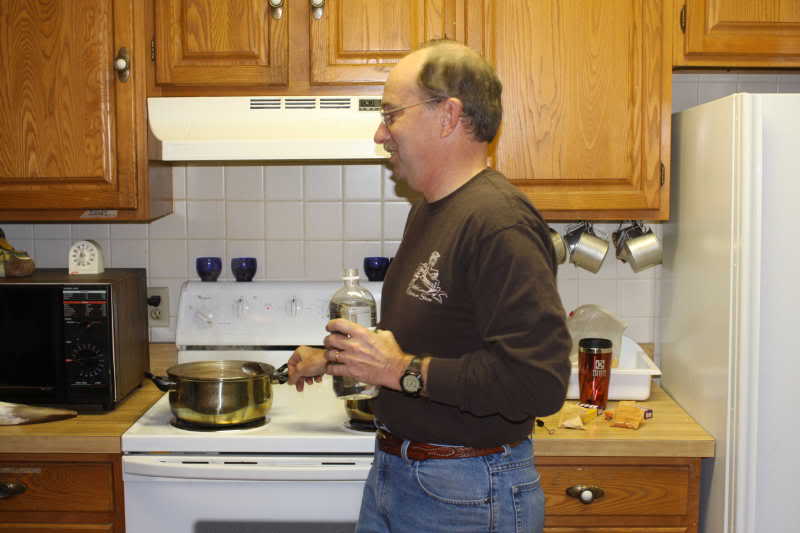
We worked on the plug end of the horn next. After cutting off the horn, we formed it round by heating the horn in hot lard and inserting a tapered plug. This plug was also the mandrel we used to chuck the horn in the lathe for cutting the horn wall to uniform thickness. These operations left us with a round end with both inside and outside concentric.
Turning the large end of the horn on the mandrel brought a bit of excitement to the class. Even when turning slowly, sometimes the horn would fly off the mandrel. The trick here was to adjust the speed fast enough to cut well, but not so fast that the horn would fly off. At times this was a delicate compromise. The better the match between the taper of horn and mandrel, the easier this operation was.
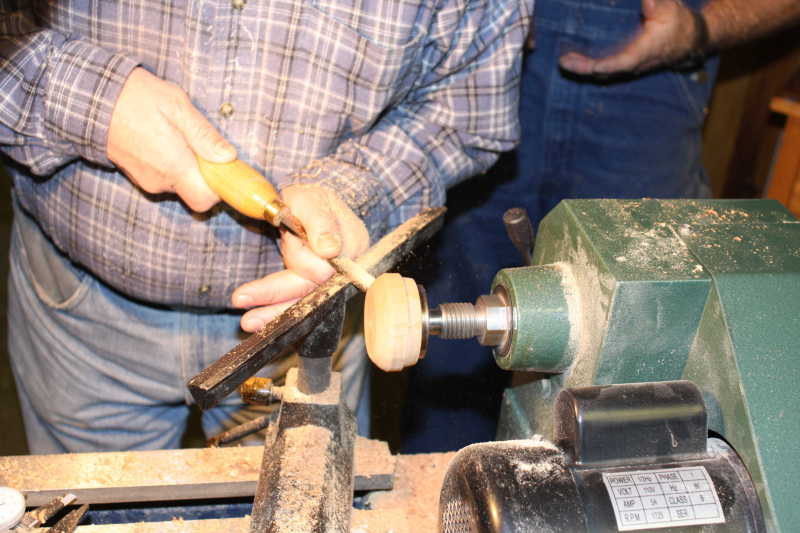
Below – Jeff Bibb is turning the the wall thickness and then parting off, providing a clean edge for fitting the plug.
Turning the plug was more or less a basic wood lathe operation. The lathe could be used at normal speeds. A inside/outside caliper as a very useful tool for measuring the horn, especially considering the taper inside the horn. We discussed the type of wood used and the variations in plug styles. The method of fastening the plug also varied with location.
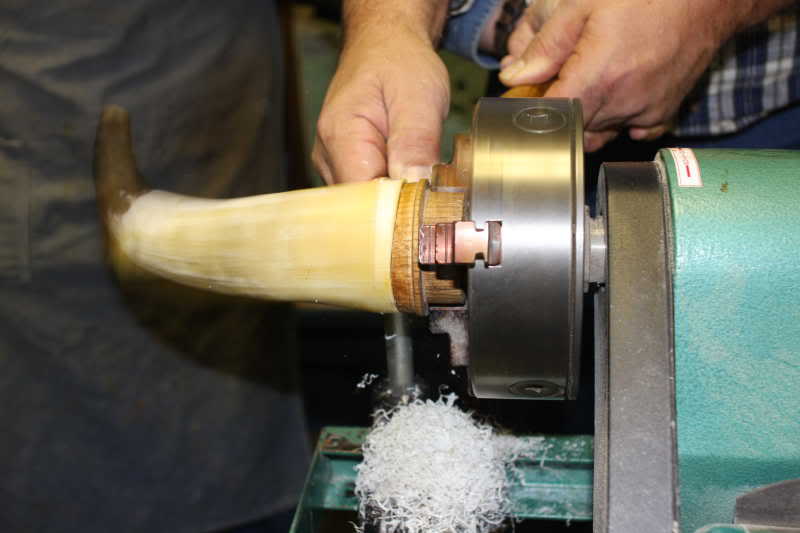
Below – Art uses an inside/outside caliper and does a trial fit of the cherry plug.
Below – Art uses a parting tool to cut the inside diameter of the plug.
Below – A student cuts the final shape of the plugs exterior.
Making a good screw tip begins by making a good choice of blank material. Art cautioned us to keep the proportions of the horn in mind. We want the diameter and the length to look pleasing when attached to the horn. Color is also a consideration. In choosing the material, I looked for material that matched the horn reasonably well – at least I did the second time.
Art looked at my first choice and said, “Are you sure you want to use that piece?” I try to learn from mistakes and ended up with a piece that fit far better regarding color. I might add that sometimes as you turn, you uncover some very nice color variations. Other tip possibilities might include horn, antler, and wood.
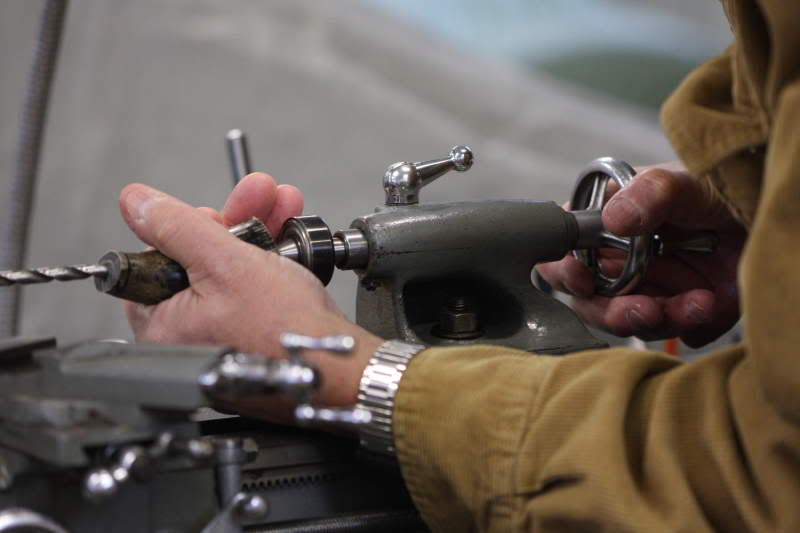
Tip preparation involves drilling and tapping the large end, drilling the through-hole, and turning the profile to match the style we have choosen. We did this on Art’s 6″ Atlas metal lathe, although it was set up to use as a wood lathe. When the drilling was done we tapped the large end. We left the tap in place and used it to turn the plug’s outside profile of the tip.
Below – When tapping the tip, we chucked the tap and locked the chuck, turning the tip by hand. Pressure was added to the tail stock when starting the tap.
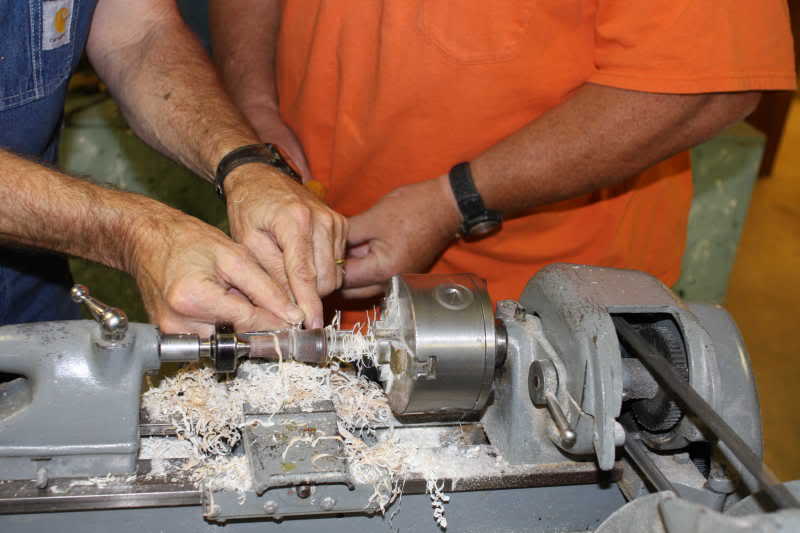
Below – Art assists a student with lathe technique.
Below – A student begins cutting the tip’s profile.
Higher turning speed, sand paper, and steel wool were used to produce the final finish. Art reminded us, “Be careful that your steel wool doesn’t get caught on the tap.” I’d swear there was a carefully covered grin as he said that. I think almost all of us did it. You’re watching the buttery smooth surface you’re getting on the tip, and suddenly there is a puff of dust that explodes from the steel wool as it wraps around the tap.
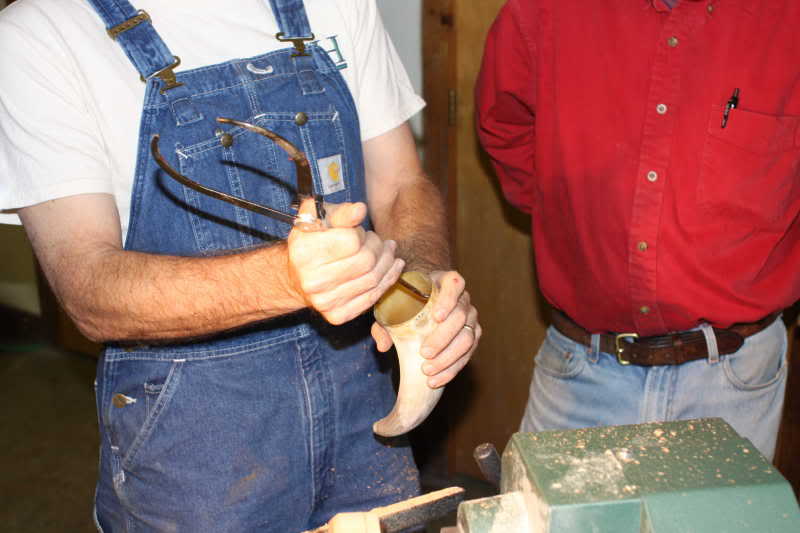
Final shaping of the horn was done with few surprises. We did learn that a draw knife works well when used away from the tip. Since the horn layers run out as you get away from the tip, you can peel layers. Going ther opposite direction won’t work.
Below – Art discusses the dying techniques he uses. Here he adds his secret ingredient – a “carelessly” measured amount of white vinegar.
Below – A student’s horn comes out of the yellow dye.

Below – Another student is using the brown dye to darken the spout end.
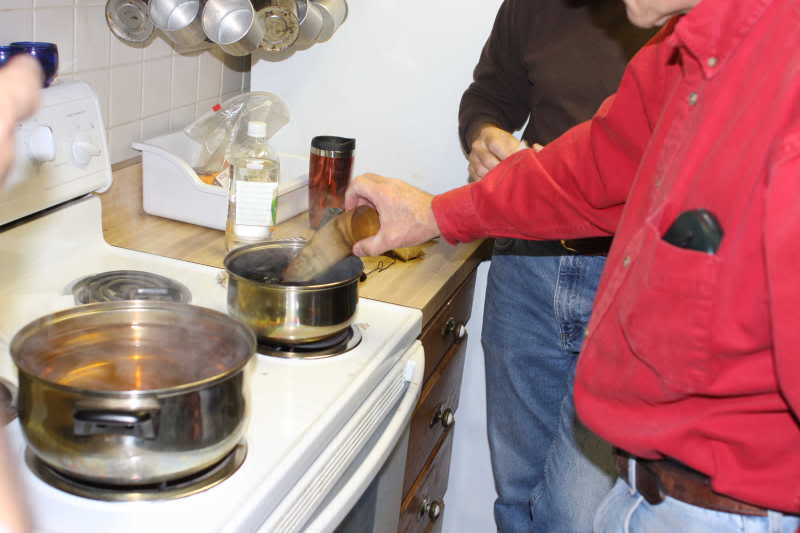
We had a chance to dye our horns with Art looking on. Art’s secret ingredient is vinegar. He has a “unique” method of measuring the amount of vinegar he adds.
Our final step was to fasten the plugs the horn. We used iron nails, but different regions used wood pegs of even thorns.
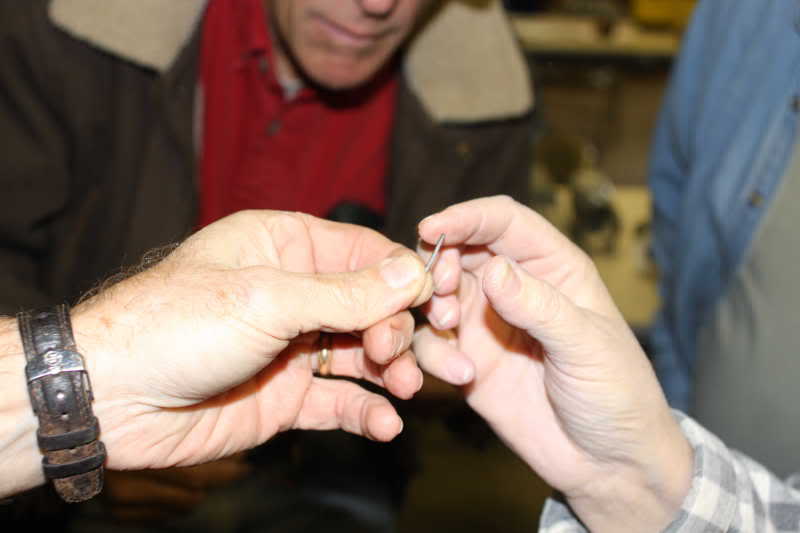
Above – Art prepares cold forged nails for attaching the plug. Here he uses 1/16″ wire and Belowshapes the head with a ball peen hammer.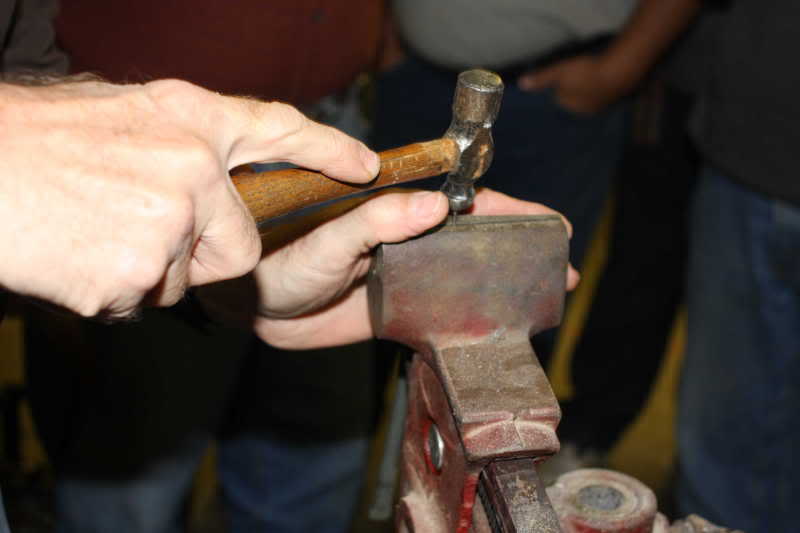
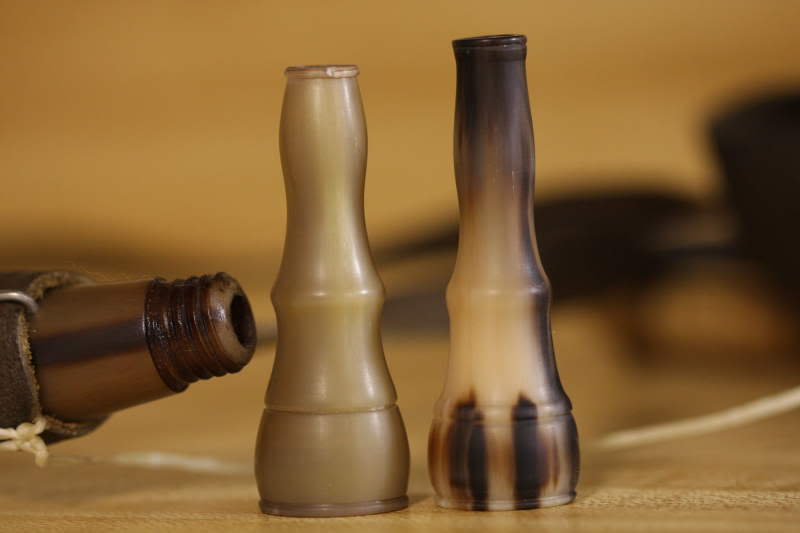
My goal at the beginning of the class was to make a screw tip horn that would be proper for my ancestor Samuel to have carried. I am pleased also that I could make a second tip at home with what I learned from Art.
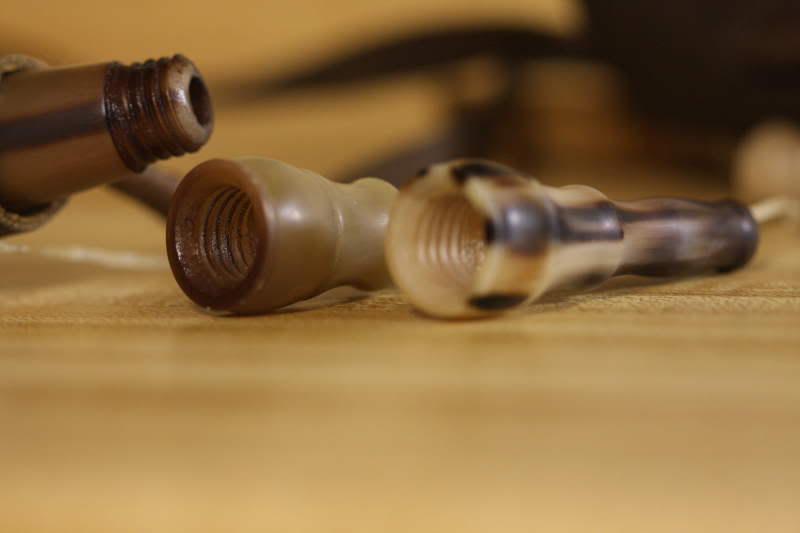
Below – The solid color tip on the left in the next two photos was done in Art’s class. The marbled one was from a horn chunk I found at home. Both fit on my Lancaster horn.
In my opinion, the class was a great success. It was a shame that only 11 students had a chance to learn from Art. That problem has been solved with the announcement that the screw tip class will be offered again in October of 2010. The fall program in on Conner Prairie’s web site, and the brochure with the fall schedule is in the mail. I hope this report on the completed class, and unashamed plug for next fall, has convinced you to sign up. I’m sure the fellows pictured below would agree.
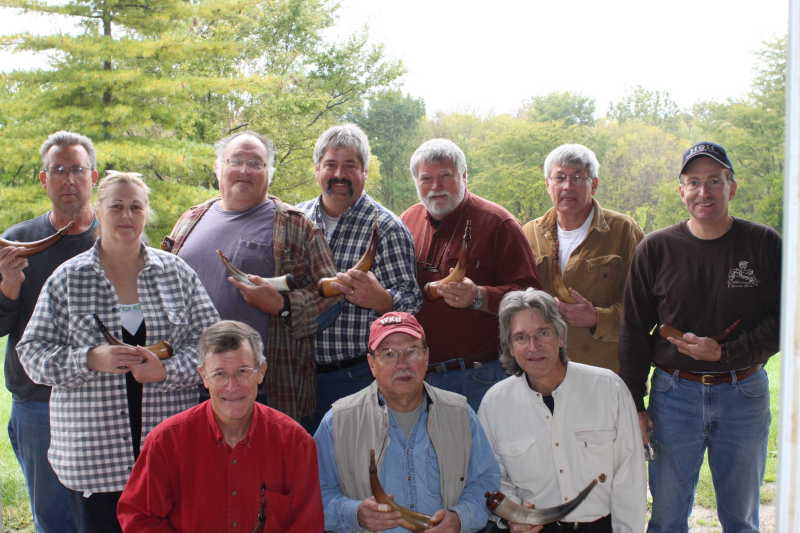
Above – This is the class photo from the 2009 Conner Prairie Class. Front row from left: ——-, Glenn Sutt, Jeff Bibb Middle: Ginny VanMeter Back row: —–, Dave Gundrum, Joe Rushton, Alan Hoeweler, Larry Pletcher, Art DeCamp Missing: Chuck Brownewell (I would like to add the names of the unnamed students if anyone can provide them.)
Larry Pletcher, editor


